
This chapter is from the book
This chapter is from the book
This chapter is from the book
Adding Swelling
Here’s how to use a couple of tools in the Liquify filter to make it appear as though the fighter has a swollen eye.
With the layer containing your subject active, go to Filter > Convert for Smart Filters, and then to Filter > Liquify (Figure 4.58).
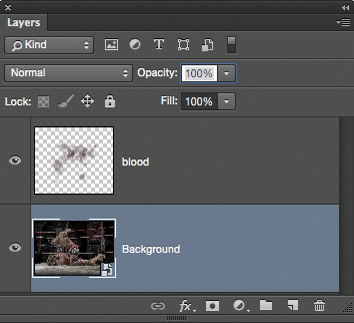
Figure 4.58
In the Liquify Filter properties, select the Advanced Mode checkbox (Figure 4.59) so that all of Liquify’s tools are available.

Figure 4.59
- Use the Zoom tool (Z) to zoom in on the area you wish to liquify.
I want the area around the fighter’s eyebrow to be swollen, but I need to ensure that other areas aren’t affected. I use the Freeze Mask tool for this (Figure 4.60). Make sure the Show Mask checkbox is selected (Figure 4.61), and paint over the areas you want to protect. In Figure 4.62 I’ve painted an area in the middle of the fighter’s eye.

Figure 4.60
Choose the Bloat tool (Figure 4.63), and set Size to 125, Density to 50, and Rate to 80 (Figure 4.64). (Experiment with the settings to suit yourself.)

Figure 4.63
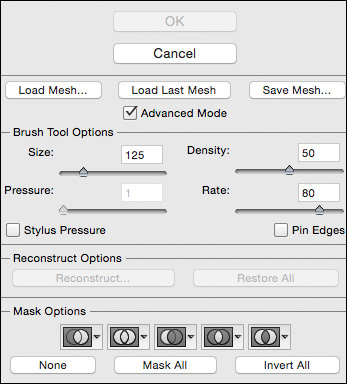
Figure 4.64
- With the Bloat tool, click several times around the area you want to swell.
Deselect the Show Mask checkbox, click Reconstruct (Figure 4.65), and move the Amount slider left and right to dial in exactly how much of the effect you wish to keep (Figure 4.66). Click OK.
)
)
)
)
)
)
)
)
)