- Smart Object Updates: The Old-School Way
- Updating Linked Smart Objects
- Final Thoughts
Updating Linked Smart Objects
Let's use our idea of a copyright image (sometimes used as an FPO marker—or For Preview Only) to put the Linked Smart Object workflow to the test. Figure 1 shows a photograph and a simple copyright graphic that I created. Keep in mind that a real copyright notice would be more subtle and smaller than this one, but to make it easier to see I've made this one a bit "over the top."
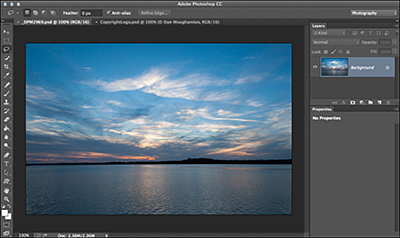
Figure 1 Linked Smart Objects are a great way to update your watermark or copyright process.
Once you've created your logo, signature file, or copyright notice (whatever is relevant for your workflow), it's easy to place linked content in one or more photos. For this tutorial, we'll use a single image, but you can easily create an Action to automate the step of placing a Linked Smart Object (at a given scale and position) into a folder full of target images. As long as the target files have the same bit depth, color space, dimensions, and resolution as the file upon which you base your Action, there should be no variance in the end result.
First, with your photo open, choose File > Place Linked. Notice that the old Place command has been replaced by two new commands: Place Embedded (the old way of using Smart Objects), and Place Linked. Note also that the file you link to does not need to be open for this process to work, but it can be.
This will open a file chooser dialog, from which you can select the file you wish to link to. Select it from the dialog and click the Place button. Your graphic will show up on your photo, with a bounding box around it. If it's a vector graphic or vector text (Photoshop uses vector text), you can easily scale the size of the graphic up or down without quality loss, by holding shift and dragging one of the corner points (Figure 2).
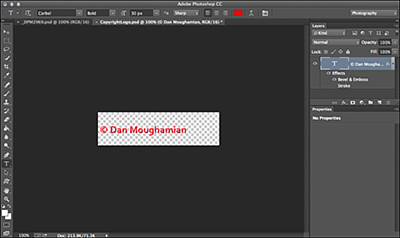
Figure 2 Once your file has been placed on the document canvas, you can resize it before accepting the changes.
Next, press the Enter key to accept the size and location of the graphic, and remove the bounding box. From here you can select the Linked Smart Object layer (the thumbnail will show a link icon) and drag it into its final spot on the canvas using the Move Tool (V). This will also display some Linked layer properties in the Properties panel, including the ability to edit the original file and embed a copy of the file in its existing state.
Now let's see how the linking part of this workflow operates. If you click Edit Contents, you will open the original file that your photo is linked to. Go ahead and make some changes if you're following along. Here I changed the font and font size. When you're done, just save and close the graphic file and switch back to your photo. You should see an immediate update (Figure 3), and best of all the update will show up automatically, in any photo that uses the same file as a Linked Smart Object!
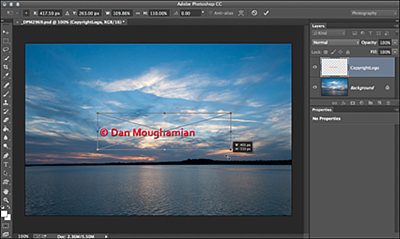
Figure 3 After you Edit Contents for the original file, the graphic should immediately update itself in all open photos that it is linked to.
Now let's try another trick. Close your photograph with the Linked Smart Object and open the link file again. Now make some new changes. Here I'll change the font once more and change the color of the text (Figure 4). Save and close when you're done.
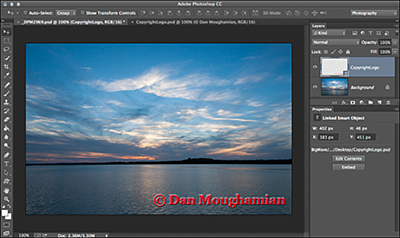
Figure 4 Editing the linked graphic with none of the photos open still works, as you'll see shortly...
Now open your photo with the Linked Smart Object. Initially the appearance will be unchanged from your previous session, but if you look in the Layers panel or Properties panel you'll notice a warning icon (!). This lets you know the file you linked to has been updated. To update your photo, right-click on the linked layer in the Layers panel and select Update Modified Content. Your photo will be updated right away (Figure 5), without having to re-open the linked file as we would with an Embedded Smart Object.
While we still have to take one manual step to update the Smart Object, before we had to choose to update the contents, navigate a dialog and re-select a file, then place it a second time. And it's worth noting again that the file size is kept much closer to the original document size when using Linked Smart Objects, saving you network time and storage space.
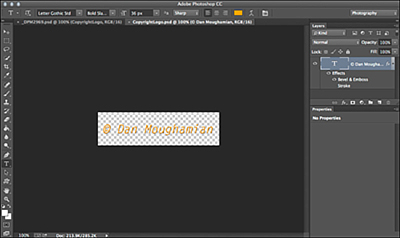
Figure 5 ...if changes have been made to your linked file, just use the context menu in the Layers panel to update the photograph.