- Getting started
- Working with layers
- Creating and modifying text frames
- Creating and modifying graphics frames
- Adding metadata captions to graphics frames
- Placing and linking graphics frames
- Changing the shape of a frame
- Wrapping text around a graphic
- Modifying the shape of frames
- Transforming and aligning objects
- Selecting and modifying grouped objects
- Creating a QR code
- Finishing up
- Exploring on your own
- Review questions
- Review answers
Working with layers
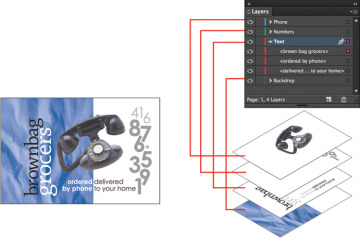
Before you begin creating and modifying objects, you should understand how layers work in InDesign. By default, every new InDesign document contains one layer (named Layer 1). You can rename this layer and add more layers at any time as you create a document. Placing objects on different layers lets you organize them for easy selection and editing. In the Layers panel, you can select, display, edit, and print different layers individually, in groups, or all together.
The 04_Objects.indd document has two layers. You’ll experiment with these layers to learn how the arrangement of the layers and the placement of objects on layers can affect the design of your document.
- Click the Layers panel icon or choose Window > Layers to open the Layers panel.
- If the Text layer is not selected in the Layers panel, click to select it. The layer is highlighted to indicate that it’s selected. Notice that a pen icon (
 ) appears to the right of the layer name. The pen icon indicates that this layer is the target layer, and while it’s selected anything you import or create is placed on this layer.
 - Click the small triangle to the left of the Text layer name. All of the groups and objects on this layer are now displayed below the layer name. Use the panel’s scroll bar to view the names in the list, and then click the triangle again to hide them.
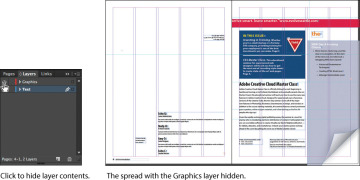
Click the eye icon (
 ) to the far left of the Graphics layer name. All the objects on the Graphics layer are hidden. The eye icon lets you hide or display individual layers. When you turn off the visibility of a layer, the eye disappears. Click the empty box again to display the layer contents.
- Use the Zoom tool (
 ) to zoom in on the dark blue frame on the front page (page 1).
 - Using the Selection tool (
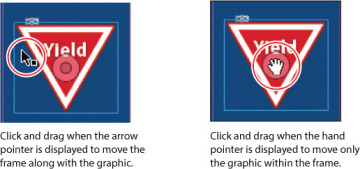
 ), move the pointer within the Yield sign graphic. Notice the highlighted blue rectangle around the frame. The blue border indicates that the frame is on the Text layer, which has been assigned a blue color. A transparent doughnut shape, otherwise known as the content grabber, is displayed in the center of the frame. When you move the pointer within the content grabber, it changes to a hand.
 Now move the pointer within the circular graphics frame below the Yield sign. Notice that this frame has a red highlight, the color assigned to the Graphics layer.
Move the pointer back to the frame with the Yield sign, make sure the arrow pointer is displayed, and then click within the graphics frame to select it.
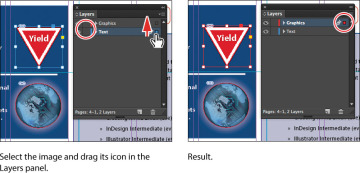
In the Layers panel, you’ll notice that the Text layer is selected, and a small blue square appears to the right of the layer name. This indicates that the selected object belongs to this layer. You can move objects from one layer to another by dragging this square between layers in the panel.
In the Layers panel, drag the small blue square from the Text layer up to the Graphics layer and release the mouse button. The image now belongs to the Graphics layer and is now the topmost object on the top layer.
Click the empty layer lock box to the left of the Graphics layer to lock the layer.
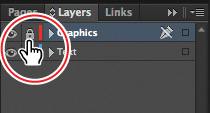
Choose View > Fit Spread In Window.
Next, you will make a new layer and move existing content to it.
At the bottom of the Layers panel, click the Create New Layer button (
 ). Because the Graphics layer was selected when you created the new layer, the new layer is positioned above the Graphics layer in the Layers panel.
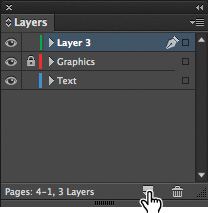
- Double-click the name of the new layer (Layer 3) to open the Layer Options dialog box. Change the name to Background, and click OK.
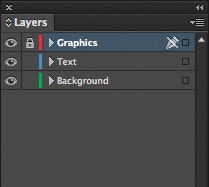
In the Layers panel, drag the Background layer to the bottom of the layer stack. A horizontal line appears when you move the pointer below the Text layer, indicating that the layer will be moved to the bottom when you release the mouse button.
- Choose File > Save.
 ). Click the left margin guide and drag to the right. As the pointer moves across the page, notice that a guide is displayed when the pointer reaches the middle of a column, the midpoint within a gutter, and the horizontal center of the page. Release the mouse button when a Smart Guide appears.