- Getting started
- Working with layers
- Creating and modifying text frames
- Creating and modifying graphics frames
- Adding metadata captions to graphics frames
- Placing and linking graphics frames
- Changing the shape of a frame
- Wrapping text around a graphic
- Modifying the shape of frames
- Transforming and aligning objects
- Selecting and modifying grouped objects
- Creating a QR code
- Finishing up
- Exploring on your own
- Review questions
- Review answers
Modifying the shape of frames
In this section, you’ll use various features that allow you to create nonrectangular frames. To begin, you’ll subtract the area of one shape from another. After that, you’ll create a polygon-shaped frame, and then you’ll add rounded corners to a frame.
Working with compound shapes
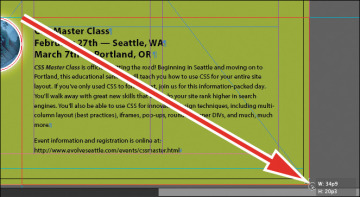
You can change the shape of an existing frame by adding other shapes to or subtracting other shapes from its area. The shape of a frame can also be changed, even if the frame already contains text or graphics. Now you’ll subtract a shape from the green background on page 3 to create a white background for the article at the bottom of the page.
- Choose View > Fit Page In Window to fit and center page 3 in the document window.
Using the Rectangle Frame tool (
 ), draw a frame from where the right edge of the first column meets the horizontal guide at 46p6 on the vertical ruler, to the intersection of the bleed guides that meet outside the lower-right corner of the page.
- With the Selection tool (
 ), hold down the Shift key and click the green box (outside of the frame you just created) that covers a good part of page 3 to simultaneously select the new rectangle and the green box. Two frames are now selected.
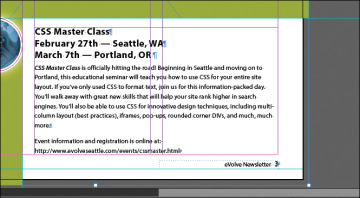
 Choose Object > Pathfinder > Subtract to subtract the top shape (the new rectangle) from the green shape. The text frame at the bottom of the page is now on a white background.
- With the green box still selected, choose Object > Lock. This helps avoid accidental repositioning of the frame.
Creating polygons and converting shapes
You can use the Polygon tool ( ) or the Polygon Frame tool (
 ) to create regular polygons with however many sides you want. You can also change the shape of an existing frame, even if the frame already contains text or graphics. You’ll try this out by creating an octagonal frame, placing a graphic within it, and then resizing the frame.
- Click the Layers panel icon or choose Window > Layers to open the Layers panel.
- Click the Graphics layer to select it.
- Select the Polygon Frame tool (
 ) in the Tools panel. It’s grouped with the Rectangle Frame tool (
 ) and the Ellipse Frame tool (
 ).
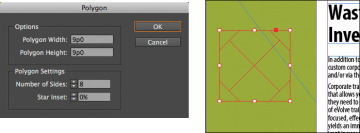
). Click anywhere on page 3 to the left of the text “Wasting Time.” In the Polygon dialog box, change Polygon Width and Polygon Height to 9p, change Number Of Sides to 8, and then click OK.
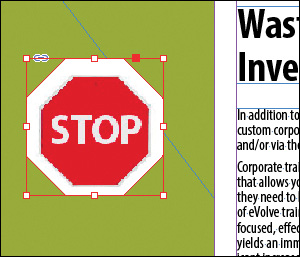
With the polygon shape selected, choose File > Place, and select stopsign.tif in the Links folder in the Lesson04 folder. Click Open.
- Use the Zoom tool (
 ) to zoom in on the graphic, and then choose Object > Display Performance > High Quality Display to display the graphic as clearly as possible.
 Using the Selection tool (
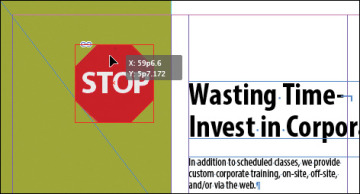
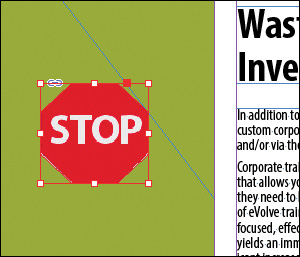
 ), drag the midpoint handle on the top of the graphics frame downward until the edge of the frame is even with the top of the Stop sign. Drag the three other midpoint handles so that all of the surrounding area is cropped and only the red of the Stop sign is visible.
Choose View > Fit Page In Window, and then use the Selection tool (
 ) to move the frame so that its vertical center edge aligns with the top edge of the text frame to the right that contains the headline (a green Smart Guide is displayed), and its right edge is approximately one gutter width to the left of the right edge of the green background frame. Pause briefly before dragging to display the graphic as you drag.
Adding rounded corners to frames
Next, you’ll modify a text frame by rounding its corners.
- Choose 1 from the page box at the bottom of the document window. Choose View > Fit Page In Window.
With the Selection tool (
 ) still selected, hold down the Z key to temporarily access the Zoom tool (
 ), zoom in on the dark blue text frame on page 1, and then release the Z key to return to the Selection tool.
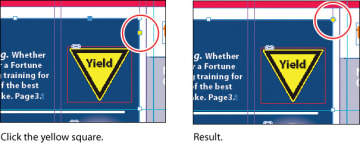
Select the dark blue text frame, then click the small yellow square that’s slightly below the resizing handle at the upper-right corner of the frame. Four small yellow diamonds replace the four resizing handles at the corners of the frame.
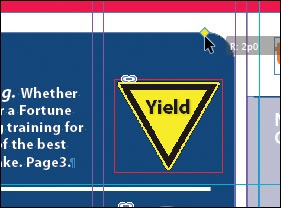
Drag the diamond at the upper-right corner of the frame to the left and release the mouse button when the live radius (R:) value is approximately 2p0. As you drag, the other three corners change, too. (If you hold down the Shift key when dragging, only the corner you are working on changes.)
- Choose Edit > Deselect All to exit live corner edit mode, then choose File > Save.
