- Exercise-4-1 Applying the Grow preset
- Exercise-4-2 Growing into the current appearance
- Exercise-4-3 Growing, twisting, and unfolding objects
- Exercise-4-4 Applying a rotation preset
- Exercise-4-5 Creating custom rotations
- Exercise-4-6 Changing the rotation point
- Exercise-4-7 Setting a custom, external rotation point
- Exercise-4-8 Creating an animation proxy
This chapter is from the book
This chapter is from the book
This chapter is from the book
Exercise-4-5 Creating custom rotations
EASY
It took me a long time to realize that I didn’t need to go through the Rotation presets to rotate objects. I had been struggling with adjusting the presets. Finally I discovered how to set the rotations directly without starting with a preset. Fortunately, you don’t have to struggle. You’ve got this book.
The finished file for this exercise is Exercise-4-5-finished.indd.
Open the file Exercise-4-5-start.indt. This art contains two gears inside a man’s head (A).

We want one gear to spin 360° clockwise and the other gear to spin 360° counterclockwise.
If it’s not open, click the Properties disclosure triange (B) in the Animation panel to open the Properties area. This opens up the controls for custom rotation amounts.
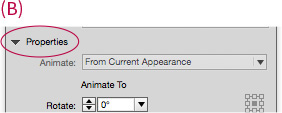
As a general rule, I always keep the Properties area open. It contains important controls for custom animations.
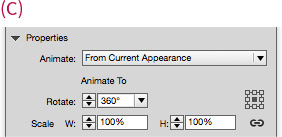
Select the blue gear and set the Rotate field to 360° (C). This automatically applies an animation to the object.
Set the duration to 3 seconds and set the object to loop. Use the EIP panel to preview the animation.
The blue gear spins clockwise because positive numbers cause clockwise rotations (D).
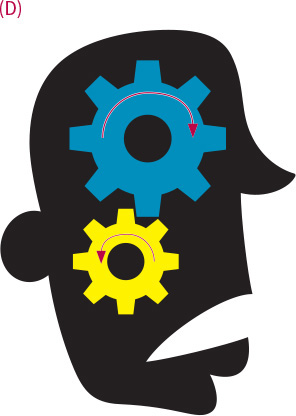
Select the yellow gear and repeat step 3 and step 4. But instead of a positive number, enter -360° (negative number) in the Rotate field.
The yellow gear spins counterclockwise. Negative numbers cause counterclockwise rotations (D).
Notice that the first gear starts 3 seconds before the second gear. This can be fixed in the Timing panel, covered in Chapter 7.