- Getting started
- Editing photos in the Organizer
- Recognizing what your photo needs
- Making easy color and lighting adjustments
- Correcting photos in Quick Edit mode
- Working in Guided Edit mode
- Guided color correction
- Resizing photos made easy
- Working with Auto Smart Tone
- Opening closed eyes
- Selective editing with the Smart Brush
- Working with camera raw images
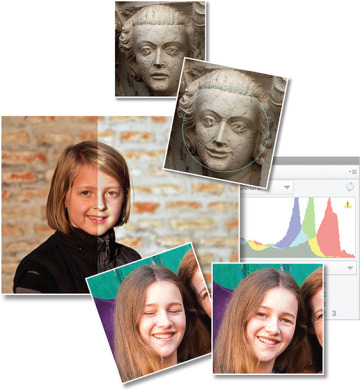
In this sample chapter from Adobe Photoshop Elements 2020 Classroom in a Book, author Jeff Carlson begins with an overview of the core concepts behind image correction, and then introduces a range of approachable techniques to help you get more from your photos in just a few clicks.
Getting started
You’ll start by importing the sample images for this lesson to your CIB Catalog.
Start Photoshop Elements and click Organizer in the Home screen. Check the lower-right corner of the Organizer workspace to make sure the CIB Catalog is loaded—if not, choose File > Manage Catalogs and select it from the list.
Click the Import button at the upper left of the Organizer workspace and choose From Files And Folders from the drop-down menu. In the Get Photos And Videos From Files And Folders dialog box, locate and select your Lesson 4 folder. Disable the option Get Photos From Subfolders and the automatic processing options; then, click Get Media.
In the Import Attached Keyword Tags dialog box, click Select All and then click OK.


