- Chapter Objectives
- EXERCISE 3-1 Drawing a Rectangular Conference Room, Including Furniture
- Making a Drawing Template
- Polyline
- OFFSET
- EXPLODE
- ID Point
- TRIM
- Rectangle
- CHAMFER
- FILLET
- COPY and Osnap-Midpoint
- ROTATE
- POINT
- DIVIDE
- MEASURE
- OSNAP
- MIRROR
- Osnap Modes That Snap to Specific Drawing Features
- Running Osnap Modes
- Osnap Settings: Marker, Aperture, Magnet, Tooltip
- EXERCISE 3-2 Drawing a Rectangular Lecture Room, Including Furniture
- Making Solid Walls Using Polyline and Solid Hatch
- From
- BREAK
- Polyline Edit
- HATCH
- ARRAY
- ARRAYEDIT
- Distance
- Exercise 3-3 Drawing a Curved Conference Room, Including Furniture
- Polyline
- POLYGON
- Grips—Add Vertex
- Grips—Convert to Arc
- ARRAY
- Exercise 3-4 Drawing a Conference Room Using Polar Tracking
- Polar Tracking
- Polyline Edit
- Specifying Points with Tracking
- Drawing the Chairs around the Conference Table
- Completing the Conference Room
- Using Command Preview
- Choosing Selection Options
EXERCISE 3-1 Drawing a Rectangular Conference Room, Including Furniture
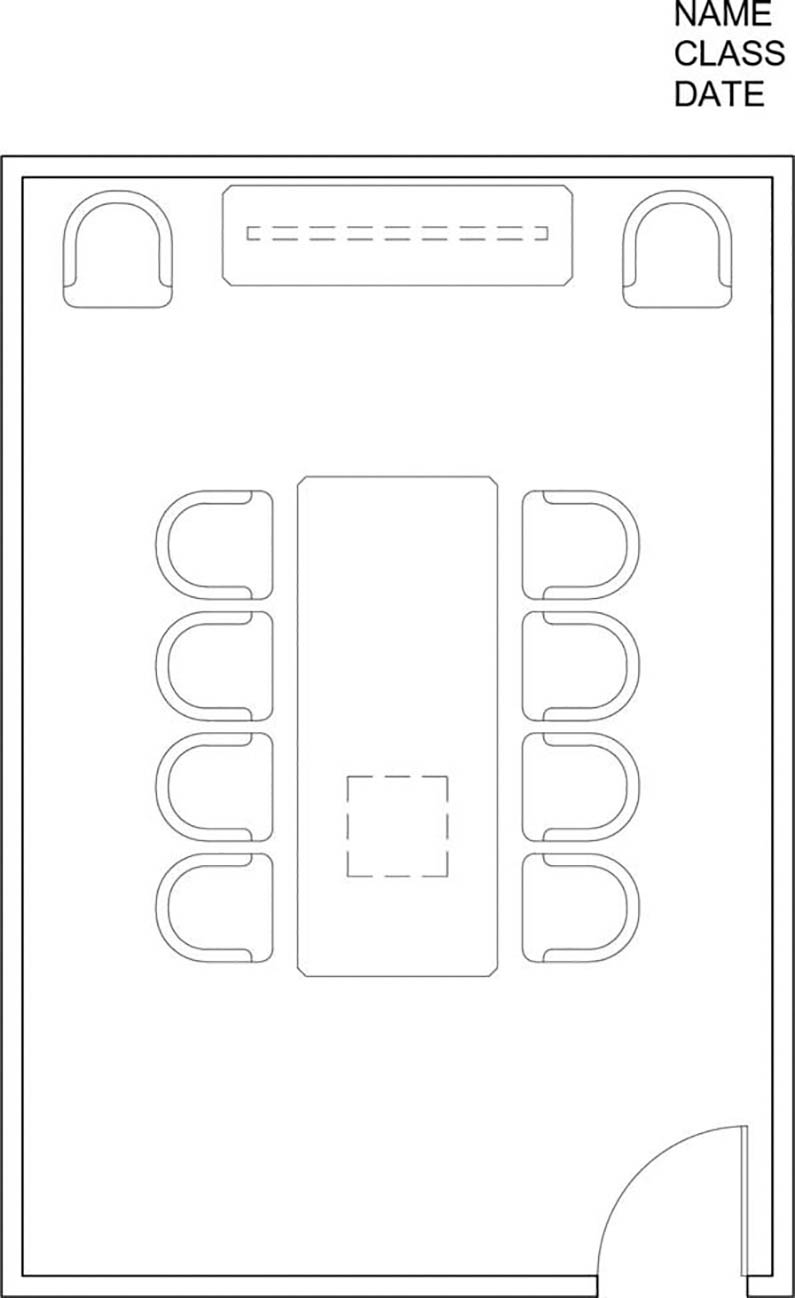
In Exercise 3-1, you learn to draw a conference room, including walls and furnishings. When you have completed Exercise 3-1, your drawing will look similar to Figure 3-1.

Figure 3-1 Exercise 3-1: Drawing a rectangular conference room, including furniture (scale: 1/4″ = 1′-0″)
Step 1. Use your workspace to make the following settings:
Use Save As… to save the drawing with the name CH3 EXERCISE1
Set drawing units: Architectural
Set drawing limits: 25′,35′ (Don’t forget the foot marks.)
Set GRIDDISPLAY: 0
Set grid: 12″
Set snap: 6″
Create the following layers:
Layer name
Color
Linetype
Lineweight
a-anno-text
green
continuous
.006[dp] (.15 mm)
a-door
red
continuous
.004[dp] (.09 mm)
a-wall-intr
blue
continuous
.010[dp] (.25 mm)
i-eqpm-ovhd
red
hidden
.004[dp] (.09 mm)
i-furn
cyan
continuous
.004[dp] (.09 mm)
Set layer a-wall-intr current.
Use Zoom-All to view the limits of the drawing.
Turn SNAP, GRID, and LWDISPLAY on. The remaining buttons in the status bar are off.
