- 7-1 Introduction
- 7-2 Terminology and Conventions-ANSI
- 7-3 Adding Dimensions to a Drawing
- 7-4 Drawing Scale
- 7-5 Units
- 7-6 Dimensioning Holes and Fillets
- 7-7 Dimensioning Counterbored and Countersunk Holes
- 7-8 Angular Dimensions
- 7-9 Ordinate Dimensions
- 7-10 Baseline Dimensions
- 7-11 Locating Dimensions
- 7-12 Fillets and Rounds
- 7-13 Rounded Shapes-Internal
- 7-14 Rounded Shapes-External
- 7-15 Irregular Surfaces
- 7-16 Polar Dimensions
- 7-17 Chamfers
- 7-18 Symbols and Abbreviations
- 7-19 Symmetrical and Centerline Symbols
- 7-20 Dimensioning to a Point
- 7-21 Dimensioning Section Views
- 7-22 Dimensioning Orthographic Views
- Chapter Projects
Chapter Projects
Project 7-1:
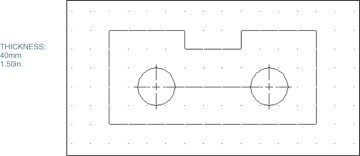
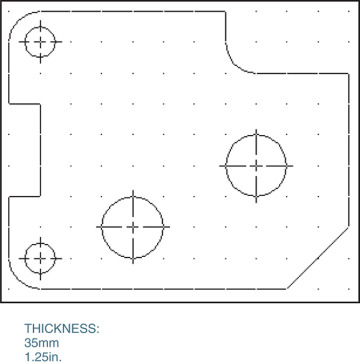
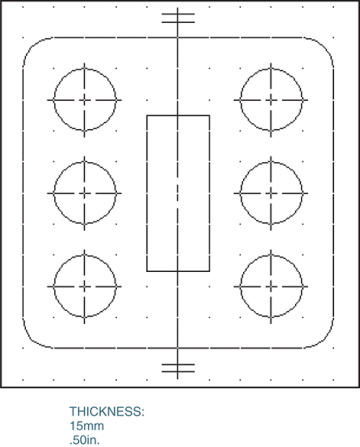
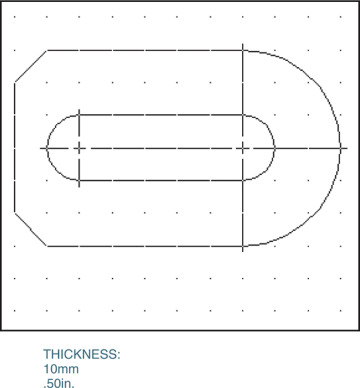
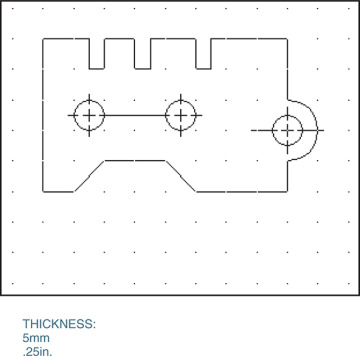
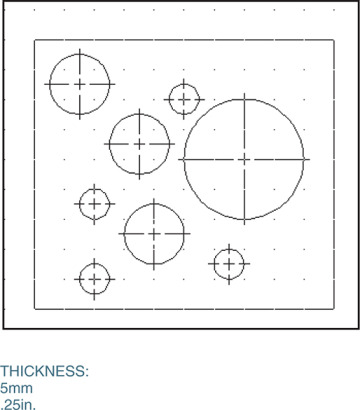
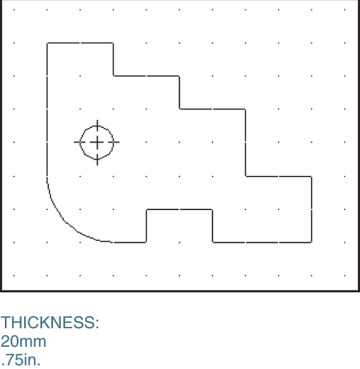
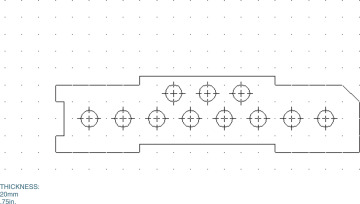
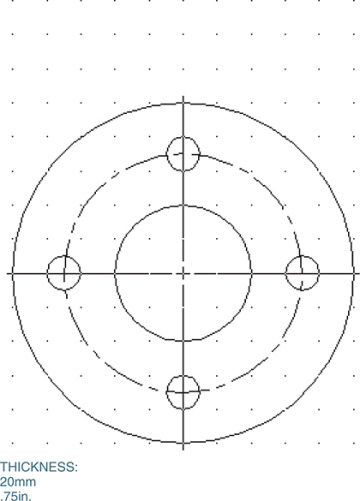
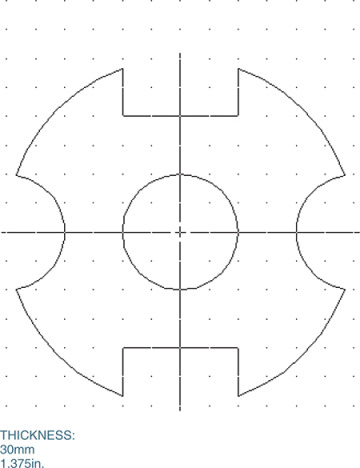
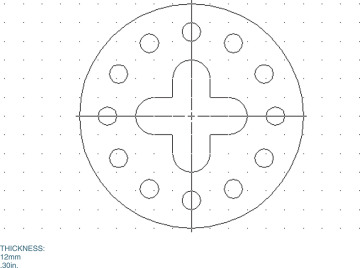
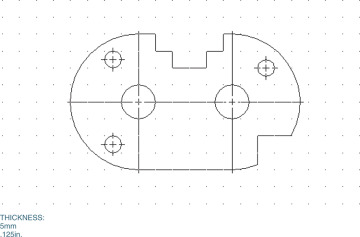
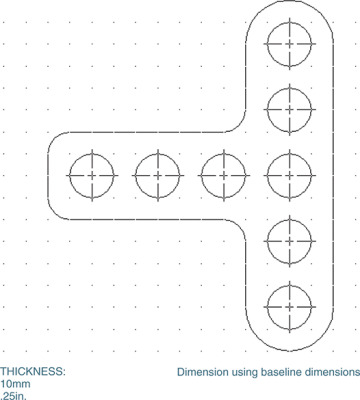
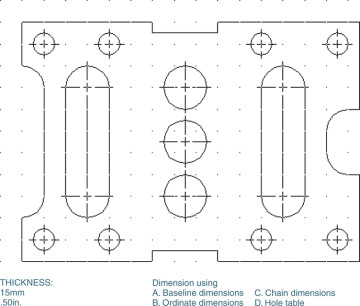
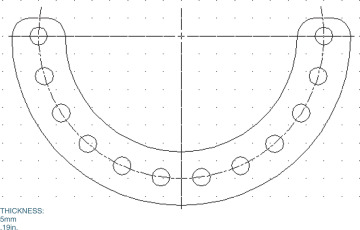
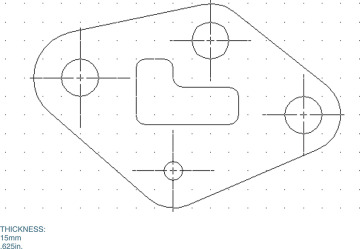
Measure and redraw the shapes in Figures P7-1 through P7-24. The dotted grid background has either .50in. or 10mm spacing. All holes are through holes. Specify the units and scale of the drawing. Use the Part template to create a model. Use the grid background pattern to determine the dimensions. Use the Drawing template to create the orthographic view shown. Use the Smart Dimension tool to dimension the view.
Measure using millimeters.
Measure using inches.
All dimensions are within either .25in. or 5mm. All fillets and rounds are R.50in., R.25in. or R10mm, R5mm.
Project 7-2:
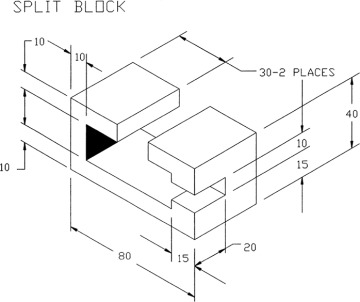
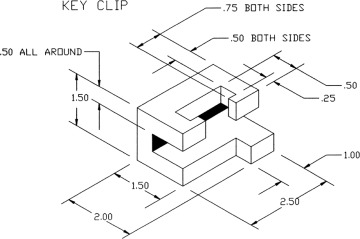
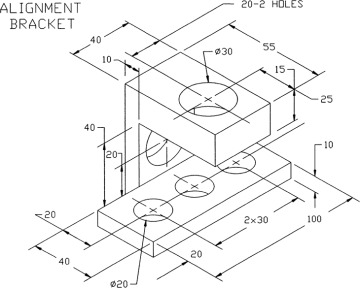
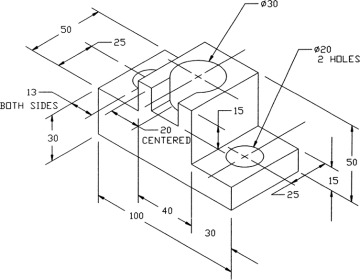
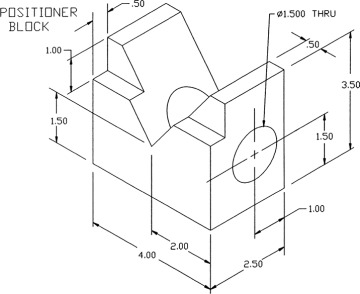
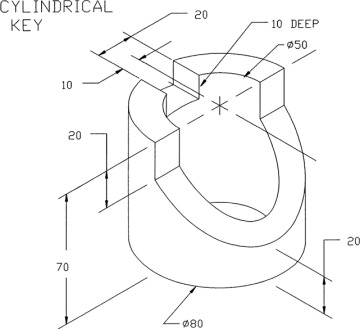
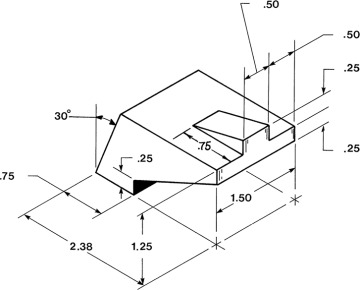
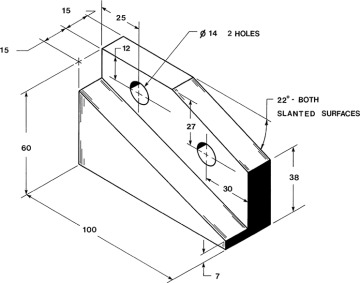
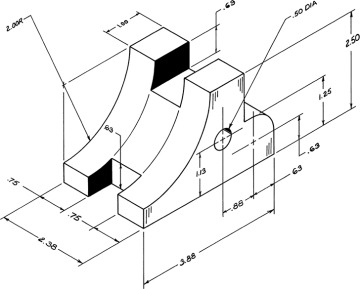
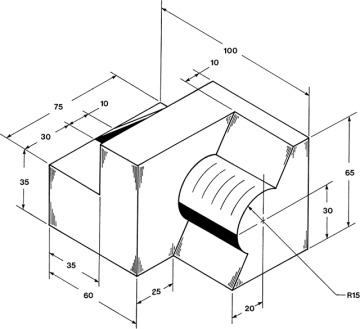
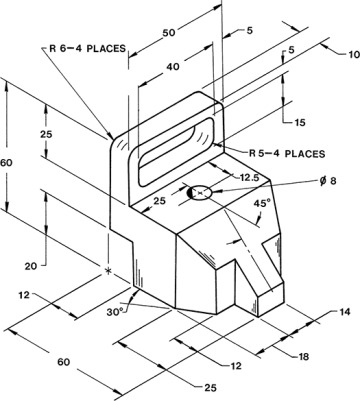
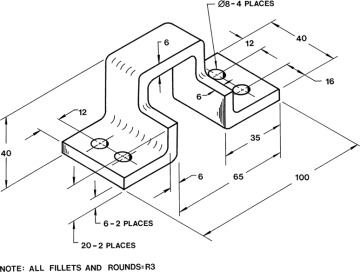
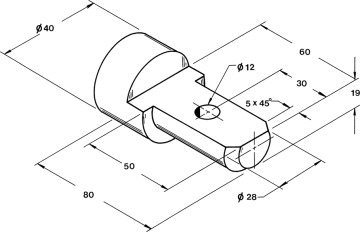
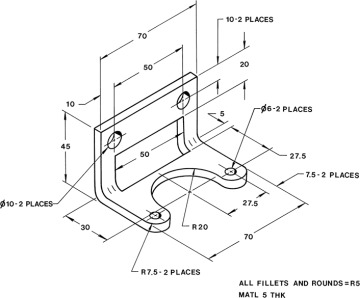
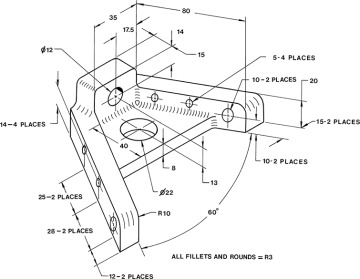
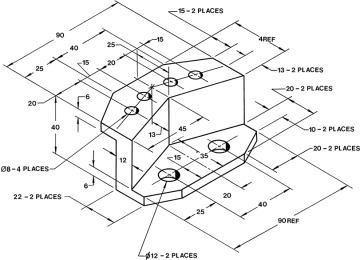
Use the Part template to draw models of the objects shown in Figures P7-25 through P7-42.
Create orthographic views of the objects. Dimension the orthographic views.
Create 3D models of the objects. Dimension the 3D models.
Project 7-3:
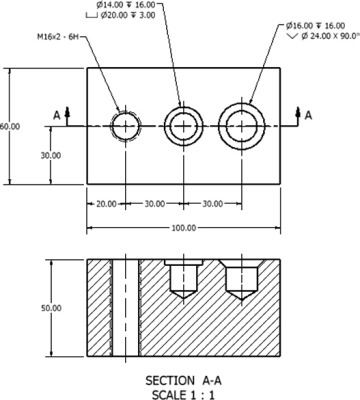
Draw a 3D model from the given top orthographic and section views in Figure P7-43.
Draw a top orthographic view and a section view of the object and add dimensions.
Project 7-4:
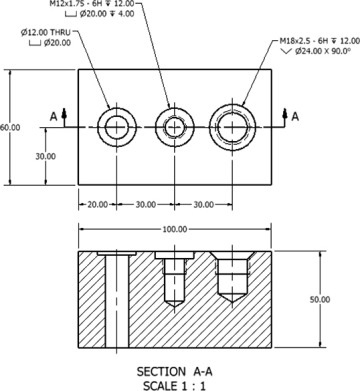
Draw a 3D model from the given top orthographic and section views in Figure P7-44.
Draw a top orthographic view and a section view of the object and add dimensions.
Project 7-5:
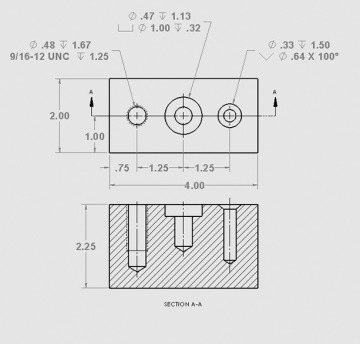
Draw a 3D model from the given top orthographic and section views in Figure P7-45.
Draw a top orthographic view and a section view of the object and add dimensions.
Project 7-6:
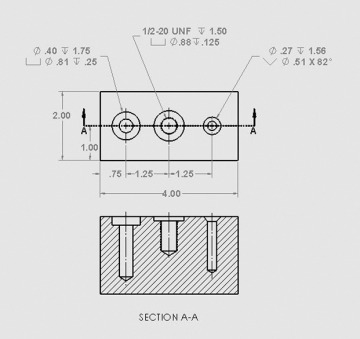
Draw a 3D model from the given top orthographic and section views in Figure P7-46.
Draw a top orthographic view and a section view of the object and add dimensions.
Project 7-7:
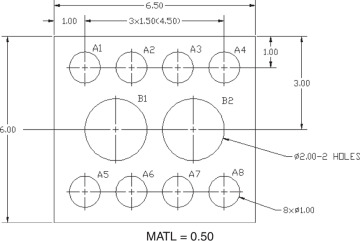
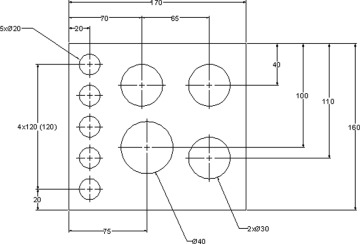
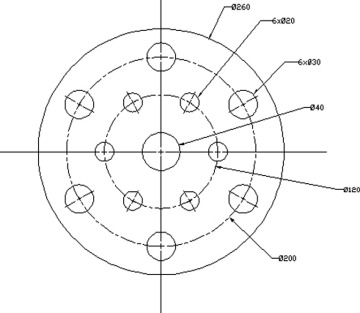
Redraw the given shapes in Figures P7-47 through P7-49 and dimension them using the following dimension styles.
Baseline
Ordinate
Hole Table
